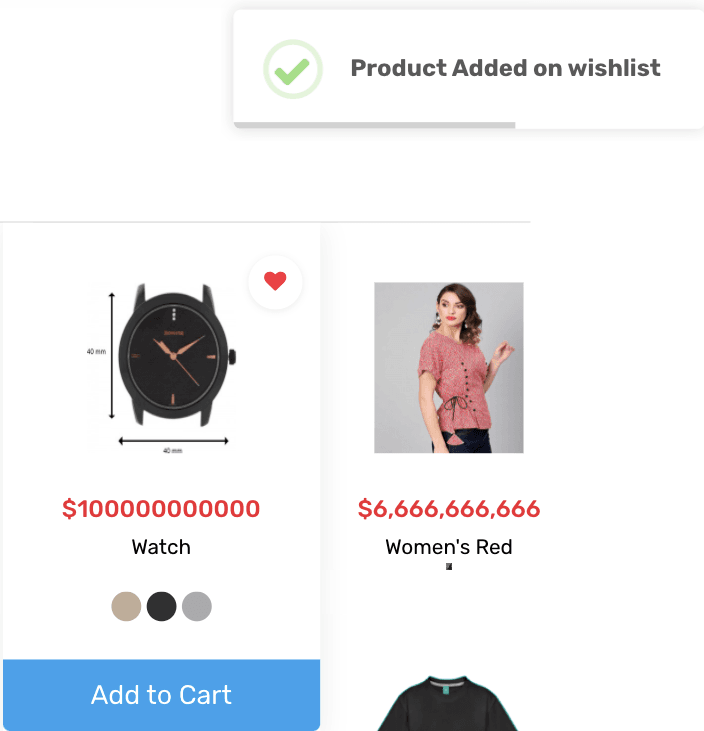
Laravel で簡単なwish list機能を追加してみた


最近はLaravel 8でECサイトを作りながら、プログラミングを学習しています。
まだ駆け出しのエンジニアなんですが、wish list機能を今作っているECサイトに実装してみましたので、その手順を紹介させていだたきます。
Step 1
データベースの作成
①migrationファイルを作る
|
1 | {{php artisan make:migration create_wishlist_table --create=wishlists}} |
②ファイル設定
|
1 2 3 4 5 6 7 8 9 10 11 12 13 14 15 16 17 18 19 20 21 22 23 24 25 26 27 28 29 30 31 32 33 | <?php use Illuminate\Database\Migrations\Migration; use Illuminate\Database\Schema\Blueprint; use Illuminate\Support\Facades\Schema; class CreateWishlistsTable extends Migration { /** * Run the migrations. * * @return void */ public function up() { Schema::create('wishlists', function (Blueprint $table) { <span style="color: #ff0000"> $table->bigIncrements('id'); $table->integer('user_id'); $table->integer('product_id'); $table->timestamps();</span> }); } /** * Reverse the migrations. * * @return void */ public function down() { Schema::dropIfExists('wishlists'); } } |
③migration実行
|
1 | {{php artisan migrate}} |

Step 2
ルーティングの設定
①Bladeビューの設定
|
1 2 3 | <a href="{{ URL::to<span style="color: #ff0000">('add/wishlist/.商品のid')</span>}}" <div class="product_fav"><i class="fas fa-heart"></i></div> </a> |
②ルート定義
|
1 | Route::get<span style="color: #ff0000">('add/wishlist/{id}')</span>, [WishlistController::class, 'AddWishlist']); |
Step 3
コントローラの作成
コントローラを作成し、ルートと同じ名前でコントローラとメソットを定義する
|
1 | {{ php artisan make:controller WishlistController }} |
|
1 2 3 4 5 6 7 8 9 10 11 12 13 14 15 16 17 18 19 20 21 22 23 24 25 26 27 28 29 30 31 32 33 34 35 36 37 38 39 40 | <?php namespace App\Http\Controllers; use Illuminate\Http\Request; use Illuminate\Support\Facades\Redirect; use DB; use Auth; class WishlistController extends Controller { public function AddWishlist($id){ <span style="color: #008000">//ログインしているユーザのID</span> $userid = Auth::id(); <span style="color: #008000">//DBで特定のデーターを変数に代入</span> $check = DB::table('wishlists')->where('user_id',$userid)->where('product_id',$id)->first(); $data = array( 'user_id' => $userid, 'product_id' => $id, ); ❶if (Auth::Check()) { ❷if ($check) { return \Response::json(['error' => 'Product Already Has on your wishlist']); }else{ ❸DB::table('wishlists')->insert($data); return \Response::json(['success' => 'Product Added on wishlist']); } }else{ return \Response::json(['error' => 'Login your account first']); } } } |
メソッドのコードの説明
❶
ログインしているかどうかをチェックし、ログインしなかったらLogin your account firstを表示させます。
❷
SQL文で今ログインしているユーザIDとリクエストの商品IDがwishlistsデータベースと一致してるダーテーを$checkに代入した。
もしも$checkが存在しているなら、つまりユーザはすでにその商品をwishlistに入れている証拠ですので、Product Already Has on your wishlistを表示させます。
❸
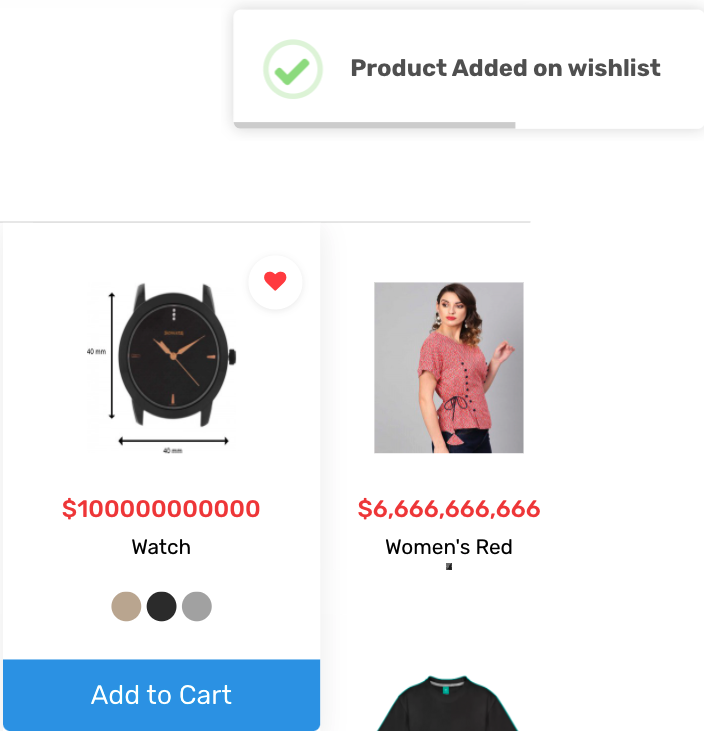
もしも❷が実行されなかったら、ユーザIDとその商品IDをデータベースに入れ、Product Added on wishlistをを表示させます。
データの挿入成功

Author Profile

スターフィールド編集部
SHARE


